

Flowers really make a home and we always have a display to welcome our guests. Now we have been lucky enough to have a private flower arranging lesson from florist Jan Chew and want to pass on all the information and secret tips of the trade. Jan walked around the garden with gardener Peter Thomas and she encouraged him to see it through new eyes. We have a beautiful cutting garden of flowers to use for the houses, but, particularly when it came to foliage, Jan pointed out we have so much more. The best example was her selection of privet – something we just think of as a rather boring hedge – for great greenery. Follow this step by step guide with Peter and you too will be able to create stunning flower displays in the new natural style described by Jan as, ‘flowers looking like they are growing.’
1) Think of the mood of the room you want the arrangement to go in, there may be particular colours or art that you want to reflect. 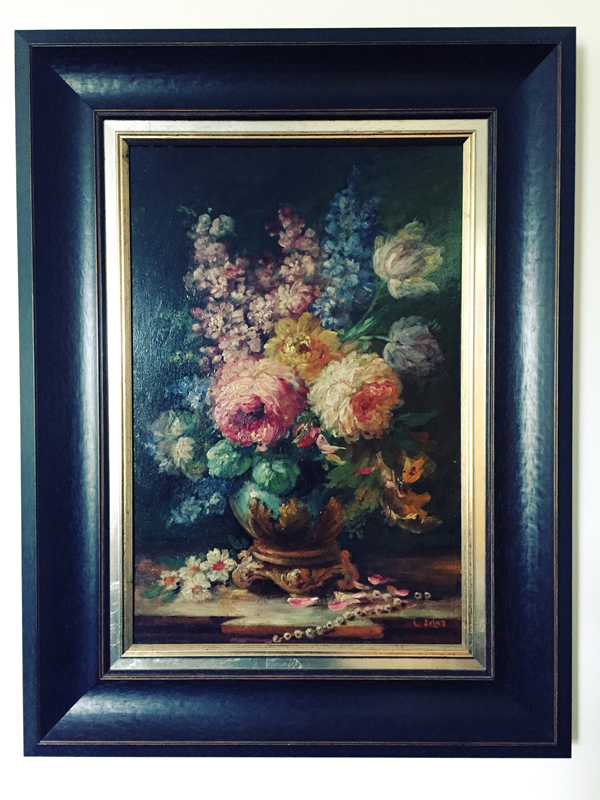
2) Select the container to be used before the flowers and foliage. Some of the contents will need to be two thirds as high as the container, or double the height if it is shallow.
3) Pick your foliage and flowers at least two hours before creating the arrangement and preferably the day before, so everything can have a long drink in a bucket of water.
4) Make sure you pick plenty of foliage and flowers, as you do not want to be going back to find more. Foliage and flowers with woody stems should be placed on a wooden board and smashed at the bottom with a hammer before putting in water to enable them to drink more.
5) Before starting the arrangement, make sure you have all your equipment ready. We had oasis, florists’ sticky tape, scissors and secateurs.

6) The oasis holds the stems in place and also provides extra water. After cutting it to size, soak in the sink and then put in the container, holding it in place with sticky florist tape.
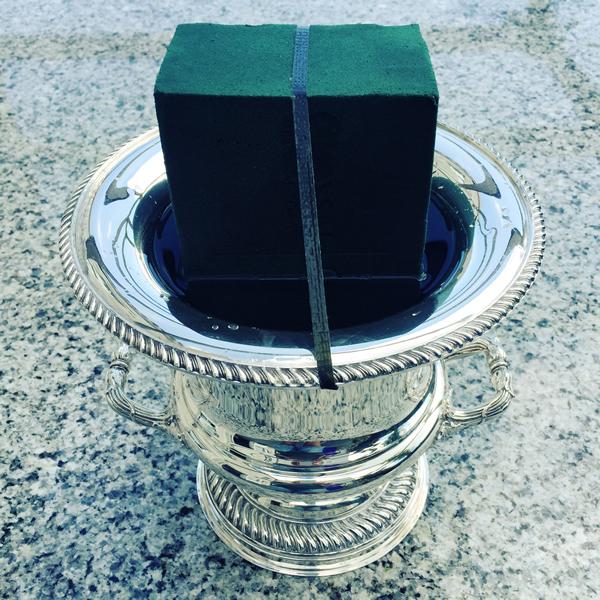
7) A drop of bleach or flower food should also be put in the water to keep the arrangement fresh for longer.
8) Start by putting in the foliage at the back of the arrangement. We used privet, griselina and pittosporum from around the garden.

9) Before placing each individual stem in, it should be neatly cut on a downward diagonal to making it easier to absorb water.

10) Damaged leaves should be removed and any stray leaves and stems which are along the central stem which is going into the oasis.
11) After putting in foliage at the back and around the sides, stand back and assess how they the arrangement is coming together. Think about, colour, texture, harmony and space – both in the arrangement and around it.

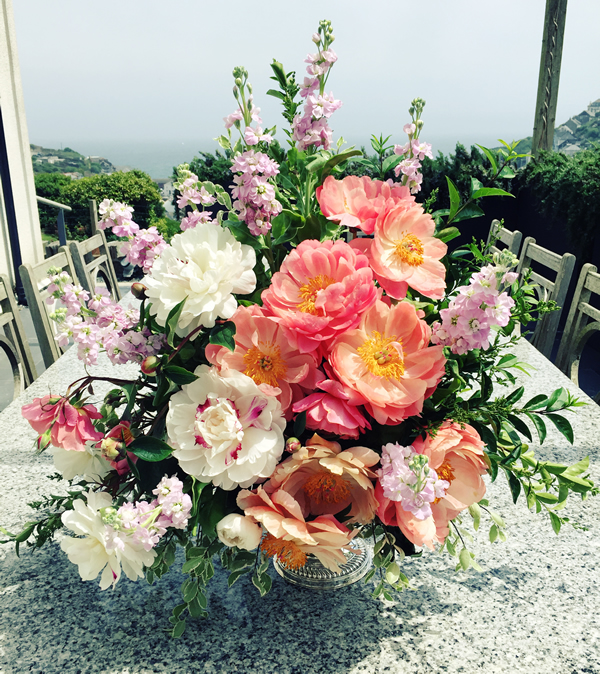
12) When you are happy with the basic shape, prepare your main flowers as before. Jan provided tall, sweet smelling stocks, and Peter also used Coral Charm peonies and Ali Baba roses from around the front lawn and Maxima Festiva peonies from the cutting garden. The roses also had their prickles cut off and the peony leaves which were removed were saved for filling in the arrangement – nothing is wasted. Two extra tips with peonies are to give them a shake to get rid of any ants attracted by the sticky sepals that cover the peony bud and to knock any closed bud against a hard surface to encourage it to open.
13) Continue building up the arrangement until you are happy with it. Remember it needs to be pleasing to you most of all, as Jan points out, ‘everyone will see an arrangement differently.’

14) When you have finished, take a moment to admire your work. Peter was thrilled with his arrangement and is looking forward to creating more for our guests.
Jan is happy to give private lessons for guests staying at Polpier and Penpol, whether on general flower arranging or wedding and party flowers.
Tel: 01208 832060
www.flowersbyfleuri.com
